
1.Open the original package and release, avoiding actual hand contact with, the sterile inside tyvek pouches onto the sterile field.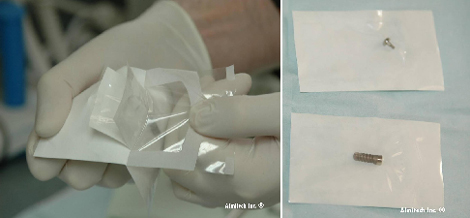
2. Insert the implant driver through the opening at the top of the pouch into the implant while holding the implant firmly from outside of the pouch.
Almitech eliminated the need for additional complicated and expensive manipulations and devices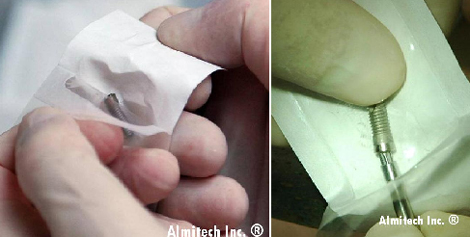
3. Carry the implant to the surgical site and thread the implant in a clockwise direction until fully seated.
Almitech implant placement should be performed by following general oral surgical principles under aseptic conditions A drilling unit for surgical use or osteotomes should be used following the recommended sequence of instruments. During drilling, copious quantities of sterile water or saline should be used to avoid overheating of bone material. Stents, depth gauges, paralleling pins should be used for adequate placement.
| Implant Body Diameter. |
3.3mm |
4.1mm |
4.8mm |
| Starter Drill |
x |
x |
x |
| 2.0 mm dia. (Pilot) drill |
x |
x |
x |
| 2.75 mm dia. |
x |
x |
x |
| 3.5mm dia. |
|
x |
x |
| 4.3mm dia. |
|
|
x |
Almitech dental Implant: Flexible solution for Transgingival, Subgingival, Subcrestal Implant Placement.
Transgingival placement
Place the implant in the prepared site at 20 to 30 rpm. The Machine polished collar should be positioned at the level with the crest of the bone 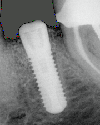
Subgingival implant placement
If a clinician chooses to place the Almitech implant below the recommended level (Machine polished collar should be positioned level with the crest of the bone), the depth of the osteotomy and coronal aspect of the osteotomy needs to be modified.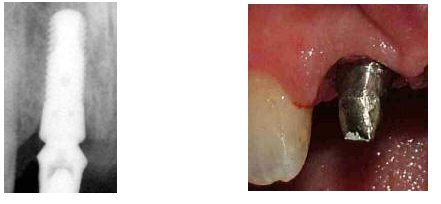
Subcrestal implant placement, 2mm below the crest of the bone
If a clinician chooses to place the Almitech implant below the recommended level (Machine polished collar should be positioned level with the crest of the bone), the depth of the osteotomy and coronal aspect of the osteotomy needs to be modified. 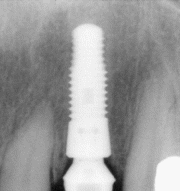
|


